There are still a few methods to install and configure Windows 11 without logging into your Microsoft account, despite the fact that Microsoft does not make this simple. While some techniques entail converting an existing account to a local account, others need the use of the Rufus tool. However, these techniques only function if you have previously installed Windows and are logged in, or they require third-party software.
There is just one method if you want to install and configure Windows 11 without logging in with your Microsoft account. Here is all the information you require about it.
How to set up Windows 11 and bypass Microsoft account Sign-in
In essence, the procedure entails blocking the internet connection during Windows 11 installation using the command prompt. This makes it possible to create a local account.
This is a comprehensive tutorial on how to install Windows 11 without logging into a Microsoft account.
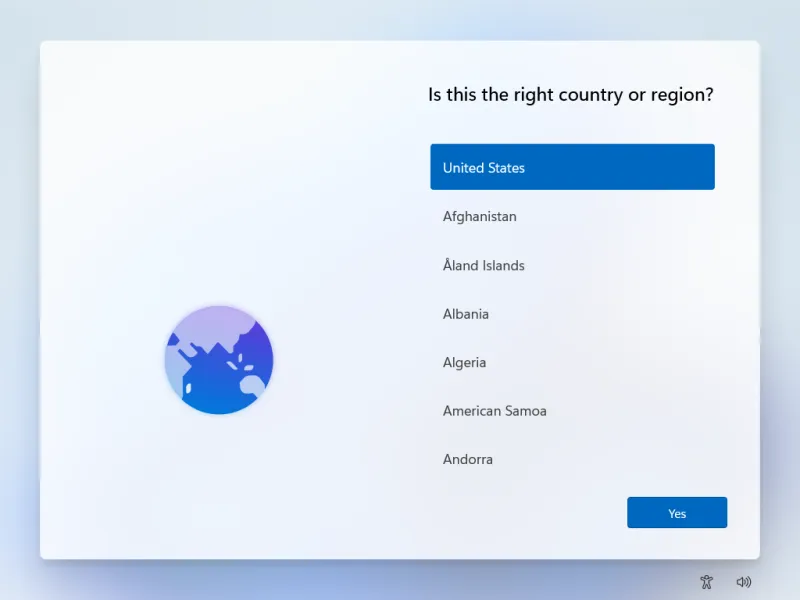
- Follow the first few steps to install Windows 11 as you would normally do.

- When you get to the page below, press
Shift+F10.
Recommended: How to Install Microsoft Phi-3 AI Locally on Windows
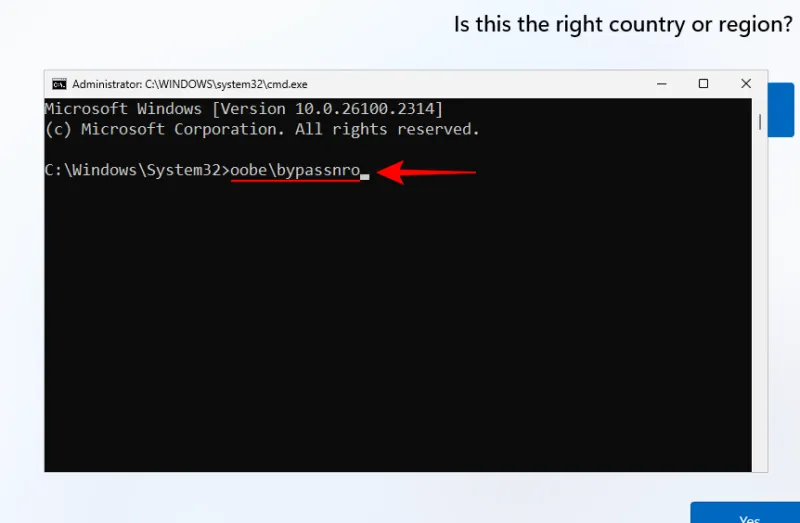
- This will open the Command Prompt as shown below. Type the command
oobe\bypassnroand hit Enter.
- The system will resume. You’ll be back on this earlier page, which is shown above after it boots up.
Recommended: How to Force Adjust the Brightness on Windows
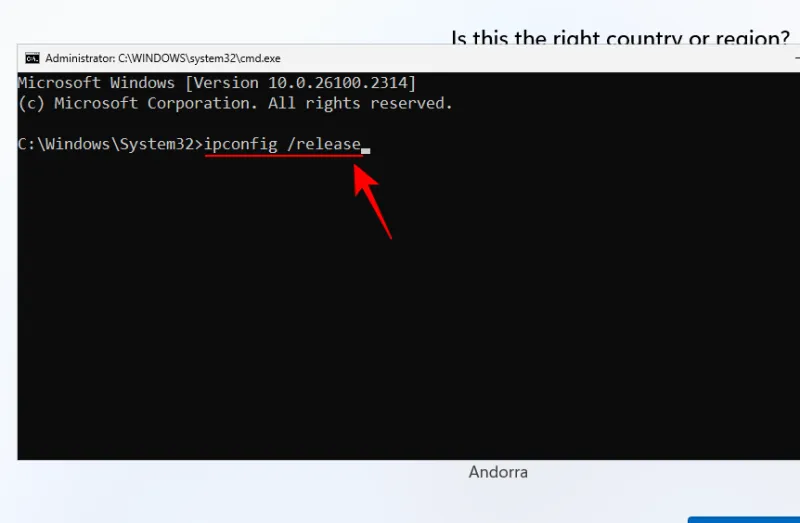
- Press
Shift+F10to open the command prompt again. Type the commandipconfig /releaseand hit Enter.
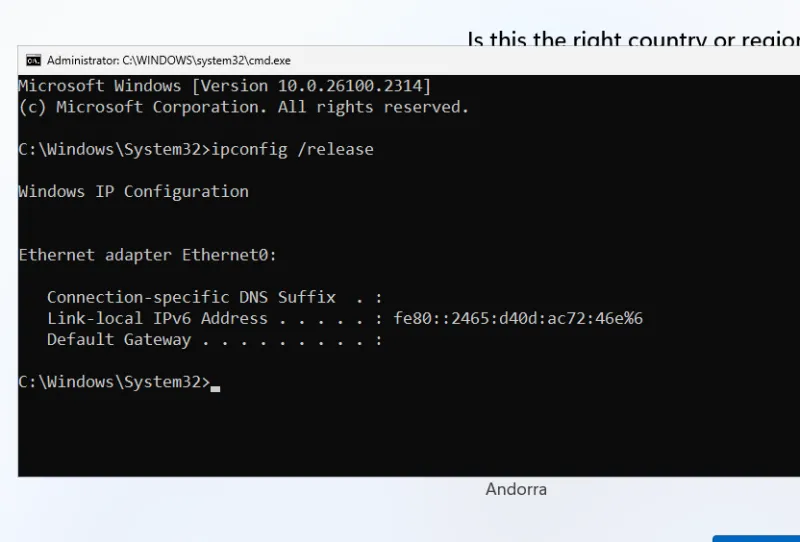
- Once the command is executed, you will see exactly as shown below, then close the command prompt.
Recommended: How to Use ChatGPT Tasks as Assistant
- Select your country or region, and your keyboard, and skip the second keyboard layout.
- On the ‘Let’s connect you to a network’ page, click on I don’t have internet and continue with the rest of the setup as you wish.
- Once you’re logged in, you will have set up Windows 11 without having to sign in to your Microsoft account.
Recommended: 15 Top Open-Source SSH Clients for Windows PC
That’s it! Without logging into a Microsoft account or installing any unnecessary applications, we hope you were able to install Windows 11. Till the next time, enjoy!